

If I do have a free afternoon, I am trying to catch up on laundry, work in the yard, or clean my dirty house. Seems a new baby puts EVERYTHING else on the back burner.
I did have some free time this past weekend, and attempted to at least organize my photos for the last three months. Including the baby shower, I've taken over 2,000 photos (which includes our get-it-in-before-the-baby-comes Alaska cruise). Hopefully, I'll get to share some stories and photos of that soon.
For this particular post, however, I wanted to share a pre-Gavin project. This is my first attempt at a DIY furniture makeover.
I've been reading how-to blogs, pinning images, and studying product reviews for
This chest-of-drawers is a wee bit special. It was part of the matching nursery set I had when I became a mom 30 years ago. My daughter used it for two years, and then my son used it for the next 24, and then gave it back to my daughter when he moved! It is a good solid piece of maple furniture.
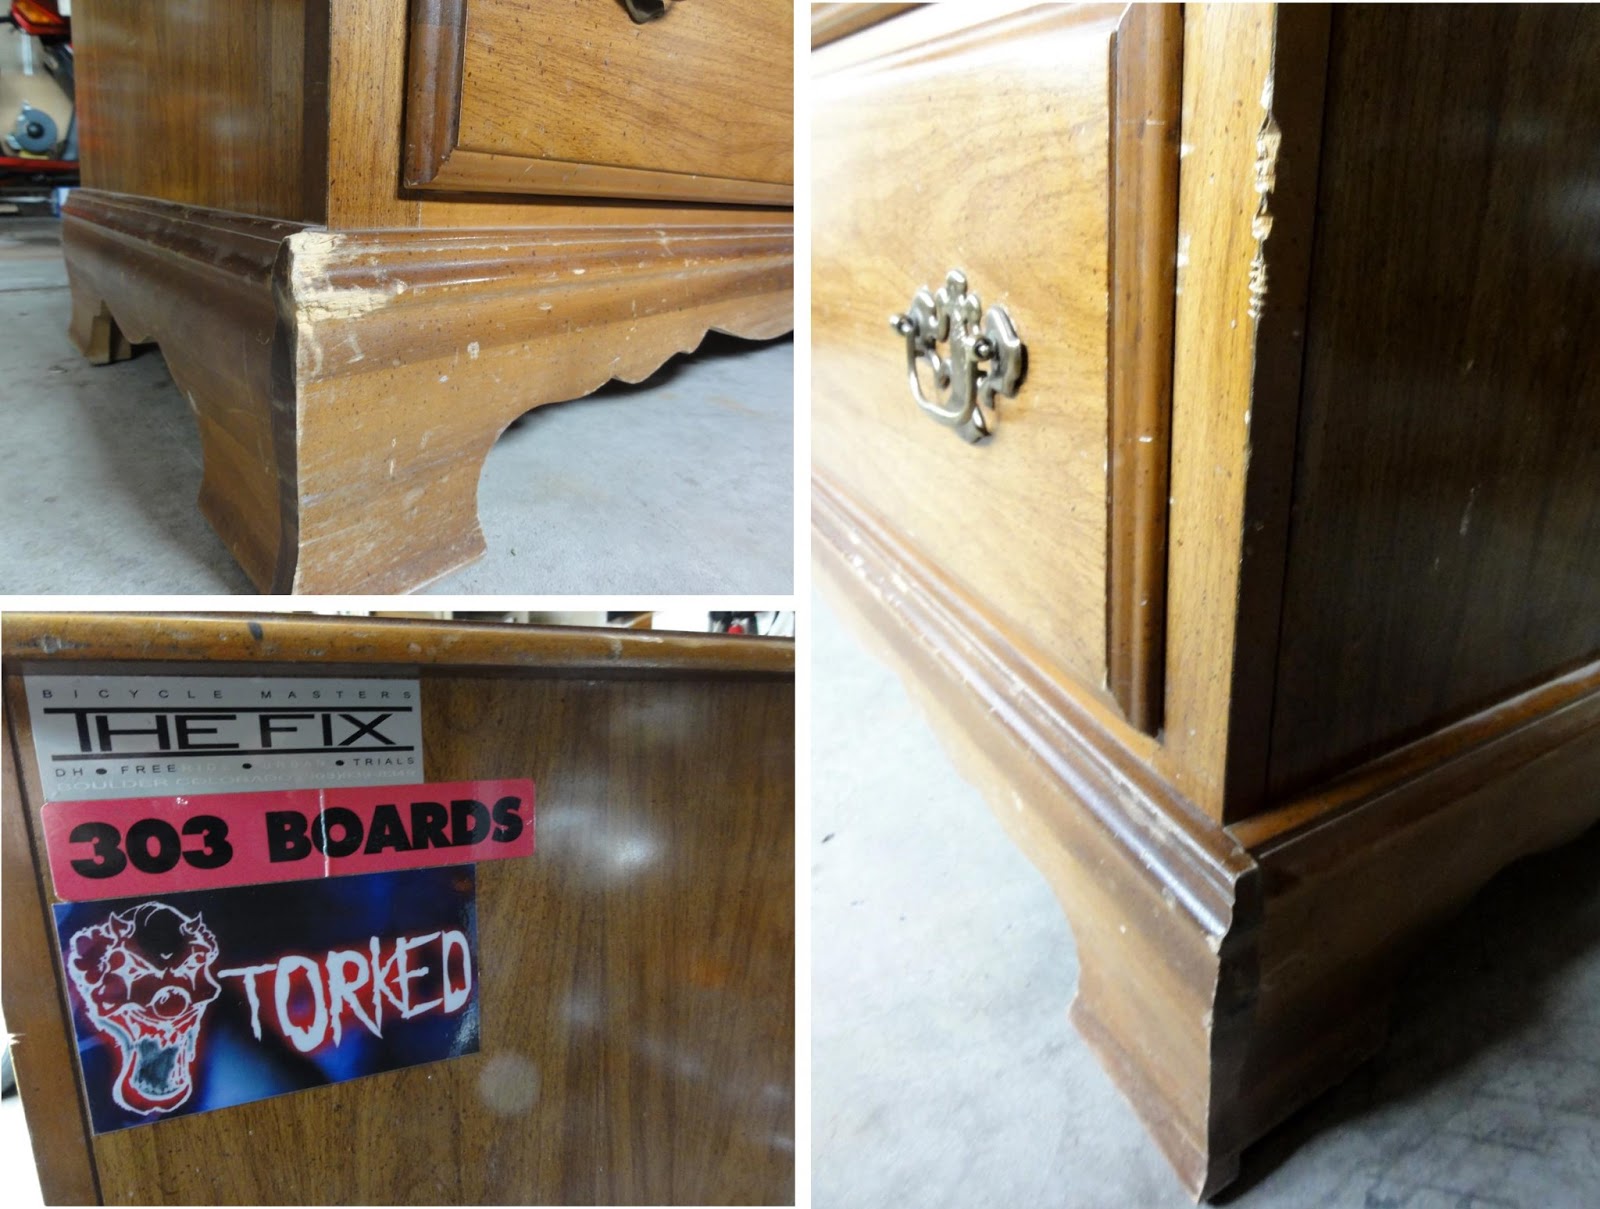
Here's the before:

...and...ta da! Here is the after:

I really had no idea what I was getting into. Bloggers make it look so easy. It is not.
I went to get the supplies. Everyone said to get a good brush. Boy, are they expensive. I settled on the "second to the best." I wish I had splurged.
First, I removed all of the old hardware and some stickers my teenage son thought would look cool. On furniture? Are you kidding me?
I sanded, filled all the holes and patched all the dents, and sanded some more.


Then, I had a brilliant idea! Gavin's changing table has a bead board front. Hmmm. Sure would be great if the dresser matched! Thanks to the marvelous invention of paintable bead board wallpaper, it does now! I simply added it to both sides of the dresser. Even unpainted, it made a huge difference.

I painted the entire dresser with two coats of white latex paint. Did you know that you actually have to mix color to get white paint; and there are many, many shades of white paint to chose from? Neither did I.
The biggest problem I had was with the top. I simply could not get the top painted in one fell swoop before it began to dry. My perfectionistic self hated seeing brush strokes. I sanded and repainted the top of the dresser three times! Working much faster each time.
When I went to get new hardware, it was like a candy store! So many choices. I had a hard time choosing, but settled on the white knobs. Each drawer has a different color. I measured where I wanted the knobs and used painters tape to "mark the spot."
 |
| Just one picture of me actually doing the work... the rest are just not pretty. And, yes I can use power tools. |
- It's definitely a summer project. I hated hauling the furniture in/out of the house to the garage when temperatures were suitable for painting.
- It's a huge commitment (time, energy and $$).
- It can always be re-sanded and you can start over!
- Yes. I'll try it again.

I'm glad it's finished. I give myself a B+. Gosh, I hope it will stand up to toddler destruction....


No comments:
Post a Comment